First impressions are crucial in the world of e-commerce and digital marketing. Nothing makes a better first impression than high-quality, professional photographs. In the furniture business, showcasing products in the best light possible can significantly boost sales and customer engagement.
This comprehensive guide covers everything you need to know about furniture photography optimization. So, get your hold on optimal lighting setups, camera choices, and beyond.
Table Contents
- 1 Why Should You Optimize Furniture Photography?
- 2 Conclusion
Why Should You Optimize Furniture Photography?
By optimizing furniture photographs, you can make your products look their best. This will also help attract potential buyers and help customers visualize how the pieces will fit into their spaces.
High-quality photos can set your brand apart, reduce return rates, and increase conversion rates. Here are some key aspects to focus on to achieve perfectly optimized furniture photography:
1. Hire Professional Photographers
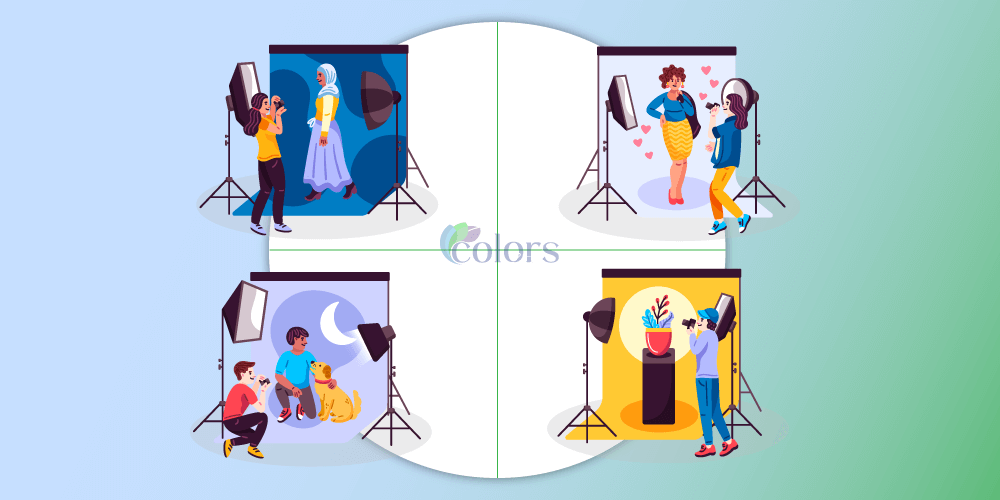
Professional furniture photography can dramatically improve the appeal and quality of your images. It will enhance your brand’s online presence. So, hire a professional photographer to ensure your photos are taken with high-end equipment. With this, you can be sure that every detail is meticulously attended to, from lighting to composition. Professionals have an eye for aesthetics and know how to position furniture to make it look its best. Additionally, a professional photographer can provide insights into staging and styling, ensuring that the furniture is presented in an attractive, contextually relevant manner.
If hiring a professional is not within your budget, you can yield excellent results with CGI photography. Professional editors like Living Colors can use advanced post-processing techniques to enhance the final images. This includes adjusting brightness, contrast, and color balance, removing imperfections, and ensuring that the images are crisp and clear.
While this level of expertise comes with a cost, the investment often pays off through higher sales and customer satisfaction. Ultimately, whether you hire a professional photographer or CGI expert, the goal is to produce high-quality images that accurately represent your products and appeal to potential buyers.
2. Create Optimizable Ambiance
Optimizing your furniture photography involves a series of strategic steps designed to enhance the visual appeal of your products. Going through these steps is essential to DIY with your photographs. The steps are:
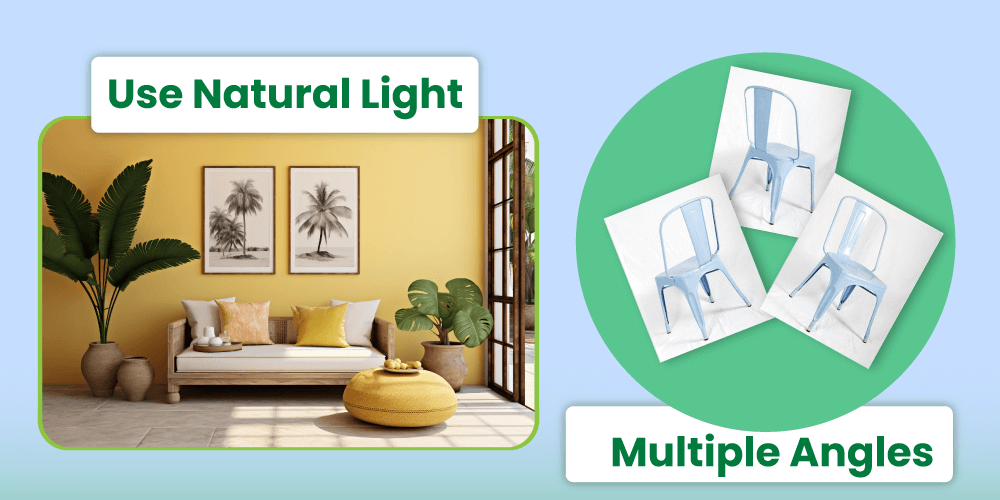
Use Natural Light
Natural light is the best source for capturing furniture’s true colors and textures. Shoot in an area with plenty of natural light to avoid harsh shadows and ensure the furniture looks inviting and true to life. Position your furniture near large windows and shoot in the early morning or late afternoon when the light is soft and diffused.
Consistent Backgrounds
A consistent, clean background helps keep the focus on the furniture. Use white or neutral-coloured backgrounds to make the furniture stand out without any distractions. Textured backdrops can add a touch of elegance and depth, but be careful not to overdo it; the backdrop should complement the furniture, not overshadow it.
Multiple Angles
Showcasing furniture from multiple angles is crucial for providing a comprehensive product view. Include wide shots to capture the full piece and close-ups highlighting details like stitching, material quality, and unique design elements. This approach helps potential buyers visualize the furniture in their own space and makes them more confident in their purchasing decisions.
Post-Processing
Editing your photos is a critical step in the optimization process. Use software like Adobe Photoshop or Lightroom to enhance brightness, contrast, and color balance. Remove any imperfections or distractions that might detract from the furniture’s appeal. Additionally, consider adjusting the perspective to correct any distortions caused by camera angles or lenses. Well-edited photos look more professional and are more likely to attract and retain customer interest.
If you are just beginning to take photographs, then it will be quite hard for you to edit. By this time, you can check for professional help.
3. Studio and Lighting Setup
Creating a dedicated photography studio space can drastically improve the quality of your photos. Here’s what you need to consider:
Studio Space
A spacious area with plenty of room to move around is ideal. Ensure the space is clean and free of distractions. A well-organized studio helps you focus on getting the best shots without rearranging or moving items out of the way constantly. A clutter-free environment also makes maintaining consistent lighting and setup easier from one shoot to the next.
Lighting Setup
A good lighting setup is essential for high-quality furniture photography. Proper lighting can make a world of difference in your furniture photography. Here are some detailed aspects to consider:
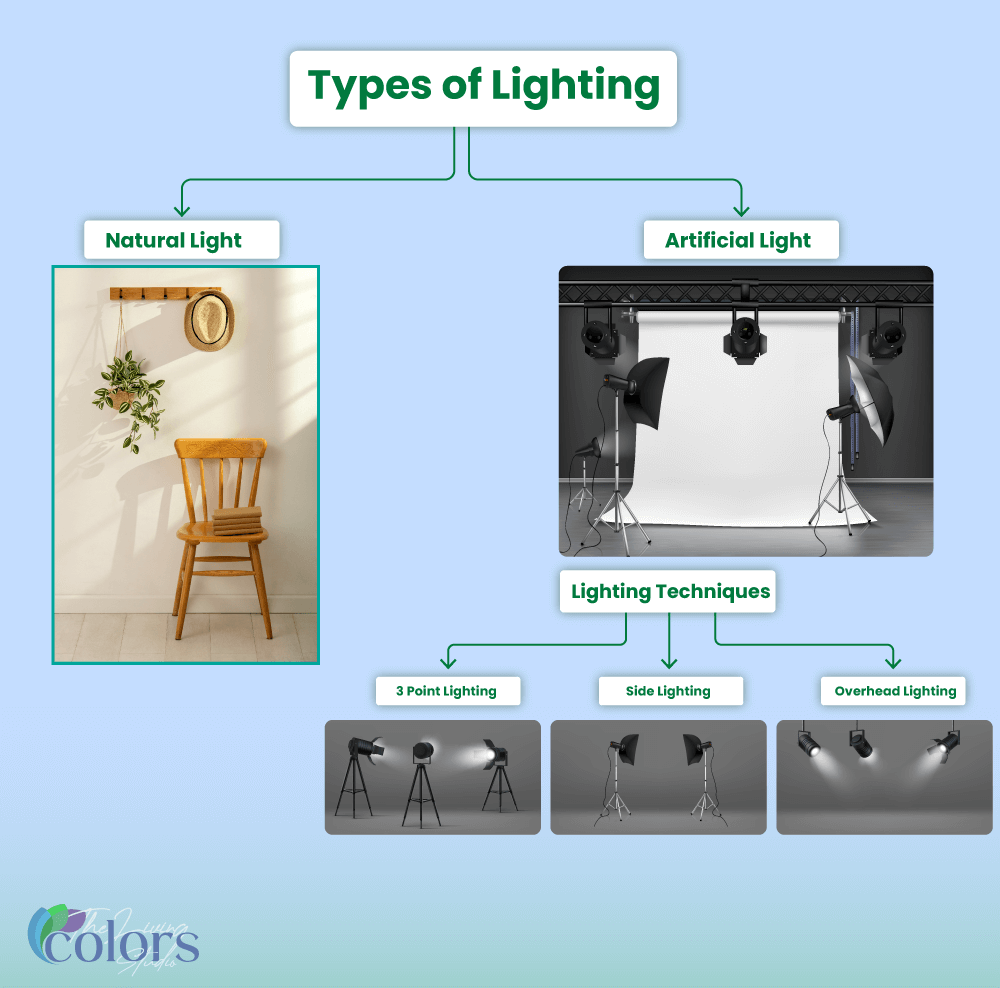
Types of Lighting
Natural Light: Utilize large windows and shoot during the day when natural light is abundant. Diffused natural light creates soft shadows and highlights, enhancing the texture and color of the furniture. Use curtains or diffusers to soften the light and avoid harsh, direct sunlight.
Artificial Light: When natural light is not available or sufficient, artificial lighting can be used. Softboxes, LED panels, and umbrella lights are great options for achieving a similar effect to natural light. Ensure that the light is evenly distributed to avoid creating unwanted shadows and highlights.
Lighting Techniques
Three-Point Lighting: This classic setup involves three lights: a key light, fill light, and backlight. The key light is the primary light source placed at a 45-degree angle from the subject. The fill light is positioned on the opposite side to reduce shadows. The backlight is placed behind the subject to separate it from the background.
Side Lighting: Positioning the light source to the side of the furniture can create dramatic shadows and highlight the texture and contours of the piece. This technique is particularly effective for showcasing intricate details and craftsmanship.
Overhead Lighting: This technique is useful for creating even lighting across the surface of the furniture, reducing harsh shadows. It is especially effective for flat surfaces like tabletops and cushions.
Lighting Accessories
Diffusers: Use diffusers to soften harsh light and reduce shadows. They can be attached to light sources or positioned between the light and the subject. This helps create a more natural and pleasing look.
Reflectors: Reflectors bounce light back onto the subject, filling in shadows and creating a more balanced lighting setup. White, silver, and gold reflectors offer different effects, such as enhancing natural light or adding warmth to the scene.
Backdrop
Backdrops: Invest in a high-quality backdrop that complements your furniture. Neutral colors like white, gray, or beige are versatile and professional. Textured backdrops can add depth without distracting from the product. Ensure the backdrop is wrinkle-free and evenly lit to maintain a clean, professional appearance. Consider using a roll of seamless paper or fabric that can be easily adjusted and replaced as needed.
4. Furniture Arrangement Techniques
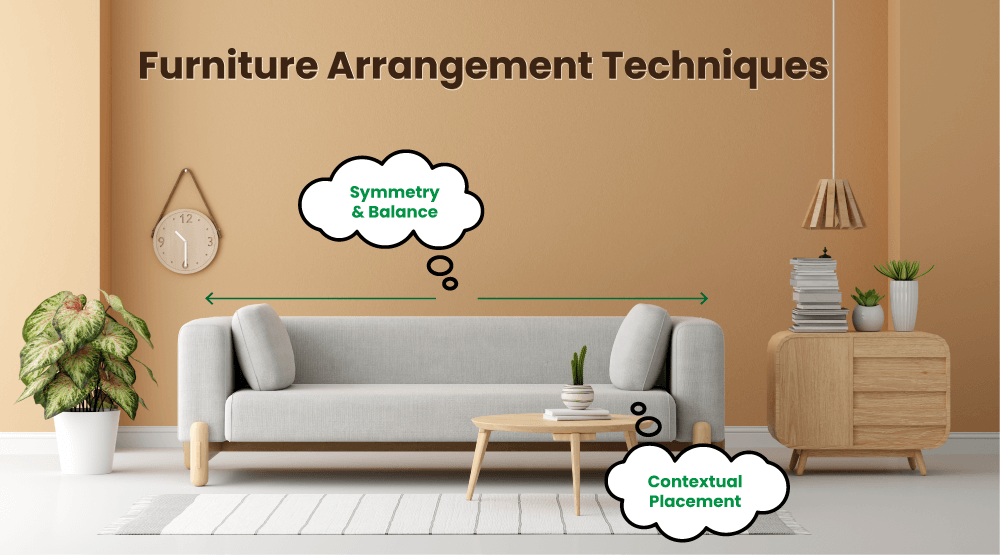
How you arrange your furniture in the shot can make a big difference in the final image.
Symmetry and Balance
Symmetrical arrangements are pleasing to the eye and convey a sense of order. Ensure that the furniture is centered and that the composition is balanced. This technique works particularly well for formal settings and classic furniture styles. Symmetry creates a harmonious and organized look, making the furniture appear more appealing and inviting.
Contextual Placement
Place furniture in a context that mimics a real living space. Add props like rugs, plants, or books to create a relatable and inviting scene. Contextual placement helps potential buyers visualize how the furniture will look in their own homes. It adds warmth and personality to the photos, making the furniture more appealing. When adding props, choose items that complement the furniture and enhance its features without overshadowing it.
Declutter
Remove any unnecessary items from the shot to keep the focus on the furniture. A clean, uncluttered space looks more professional and appealing. Clutter can distract viewers and detract from the furniture’s features. Before shooting, take the time to arrange the scene carefully, ensuring that only relevant and complementary items are included. This approach highlights the furniture’s best qualities and helps potential buyers focus on what matters most.
5. Choosing the Right Camera and Lens
The equipment you use can have a significant impact on your photos. Here’s a deeper look into the best camera and lens choices for furniture photography:
Camera
A DSLR or mirrorless camera with manual settings will give you the most control over your shots. Look for a camera with a high resolution to capture fine details.
Here are some of our recommended cameras.
Canon EOS 5D Mark IV: Known for its high resolution and excellent low-light performance, the Canon EOS 5D Mark IV is a favorite among professional photographers. Its full-frame sensor delivers exceptional image quality, capturing fine details and vibrant colors.
Nikon D850: Offers a high megapixel count and dynamic range, making it ideal for capturing detailed and high-contrast images. The Nikon D850 is renowned for its sharpness and versatility, making it suitable for a wide range of photography styles.
Sony A7R IV: A mirrorless option with exceptional detail and color accuracy. The Sony A7R IV is lightweight and compact, making it easy to handle during long photo sessions. Its advanced autofocus system ensures sharp, precise images.
Lens
Choosing the right lens is crucial for capturing the best images of your furniture. Different lenses offer unique benefits:
Wide-Angle Lens (24-70mm)
A wide-angle lens is ideal for capturing the entire piece of furniture in one shot. It allows you to photograph in tight spaces without sacrificing the field of view. However, be cautious of distortion; keep the lens at the wider end of the focal range to minimize this effect. Wide-angle lenses are perfect for showcasing large pieces like sofas and dining tables, providing a comprehensive view of the furniture.
Standard Lens (50mm)
A 50mm lens provides a natural perspective similar to the human eye, making it great for capturing realistic images without distortion. It’s perfect for medium and close-up shots. This lens is versatile and easy to use, making it a staple in any photographer’s kit. It excels at capturing the true essence of the furniture, highlighting its design and craftsmanship.
Macro Lens (100mm)
A macro lens is excellent for capturing intricate details and textures. Use this lens to highlight stitching, material quality, and other fine details that can set your furniture apart. Macro lenses are perfect for close-up shots that reveal the craftsmanship and quality of the furniture. They allow you to capture the fine details that can make or break a sale, such as the texture of a fabric or the precision of a join.
Tilt-Shift Lens
Tilt-shift lenses allow you to control the plane of focus and correct perspective distortion, which can be particularly useful when photographing larger pieces of furniture. These lenses are often used in architectural photography but can be valuable for furniture as well. Tilt-shift lenses provide unparalleled control over the image, allowing you to create professional-quality photos with perfect perspective and sharpness.
6. AI and Software Tools for Furniture Photography
Advancements in AI and software tools can help streamline your photography process and enhance your images.
AI Background Removal
Tools like Remove.bg can automatically remove backgrounds from your images, saving you time in post-processing. This is particularly useful for creating clean, professional-looking product photos. AI background removal tools are quick and efficient, allowing you to focus on other aspects of your photography workflow. They can handle complex backgrounds and ensure that the furniture stands out against a clean, uncluttered backdrop.
Virtual Staging
Virtual staging software allows you to digitally place furniture in different settings, creating appealing visuals without the need for physical props. This can help potential buyers visualize how the furniture will look in their own spaces. Virtual staging is cost-effective and versatile, allowing you to create multiple settings and styles with ease. It enhances the visual appeal of your photos and provides potential buyers with a more immersive experience.
Photo Editing Software
Programs like Adobe Photoshop and Lightroom offer powerful editing tools to enhance your photos. Utilize features like color correction, retouching, and perspective adjustment to perfect your images. Here are some key techniques:
Color Correction: Adjust the white balance, brightness, contrast, and saturation to ensure the colors in your photos are true to life. Accurate color representation is crucial for online shoppers who rely on photos to make purchasing decisions.
Retouching: Remove any blemishes or imperfections from the furniture. Use tools like the clone stamp or healing brush to clean up any distracting elements. Retouching ensures that your photos look polished and professional, enhancing the overall appeal of the furniture.
Perspective Adjustment: Correct any distortion caused by wide-angle lenses or improper camera angles. This ensures that lines are straight and proportions are accurate. Perspective adjustment helps maintain the integrity of the furniture’s design, making it more attractive to potential buyers.
Conclusion
With these tips and investing in the right tools and techniques, you can create stunning images that showcase your furniture in the best possible light. No matter if you are a beginner or a pro, these strategies will help you achieve professional-quality results.